The process in motion design is similar to any other design project in that it requires both artistic/intuitive skills and technical/logical skills of a designer.
Below are the stages of ideation, and production.
Remember, not every step is required for every project, and depending on the project and the client, certain pre-production steps could be skipped altogether.
Before you start the motion design process, make sure you have...

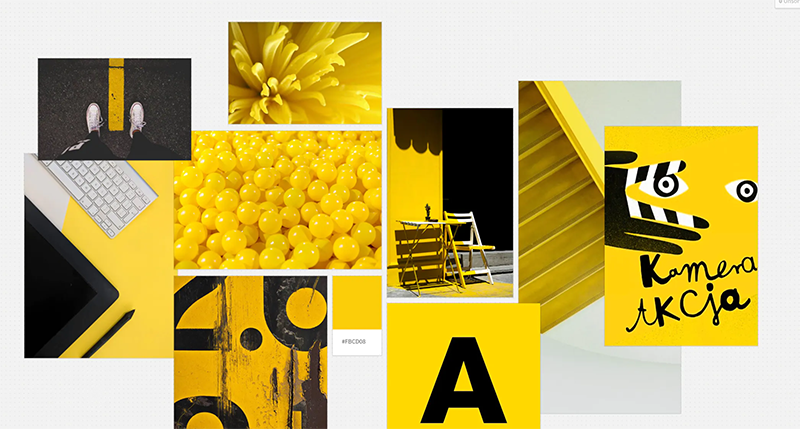
Based on the clients goals for the project, you should have an idea of the art direction / style of your client wants. This can be as simple as creating a Pinterest board with various designs, or use a great tool like Milanote. Show examples of other videos. Moodboards are a right-brain, artistic/intuitive process.
Think moodboards = inspiration boards
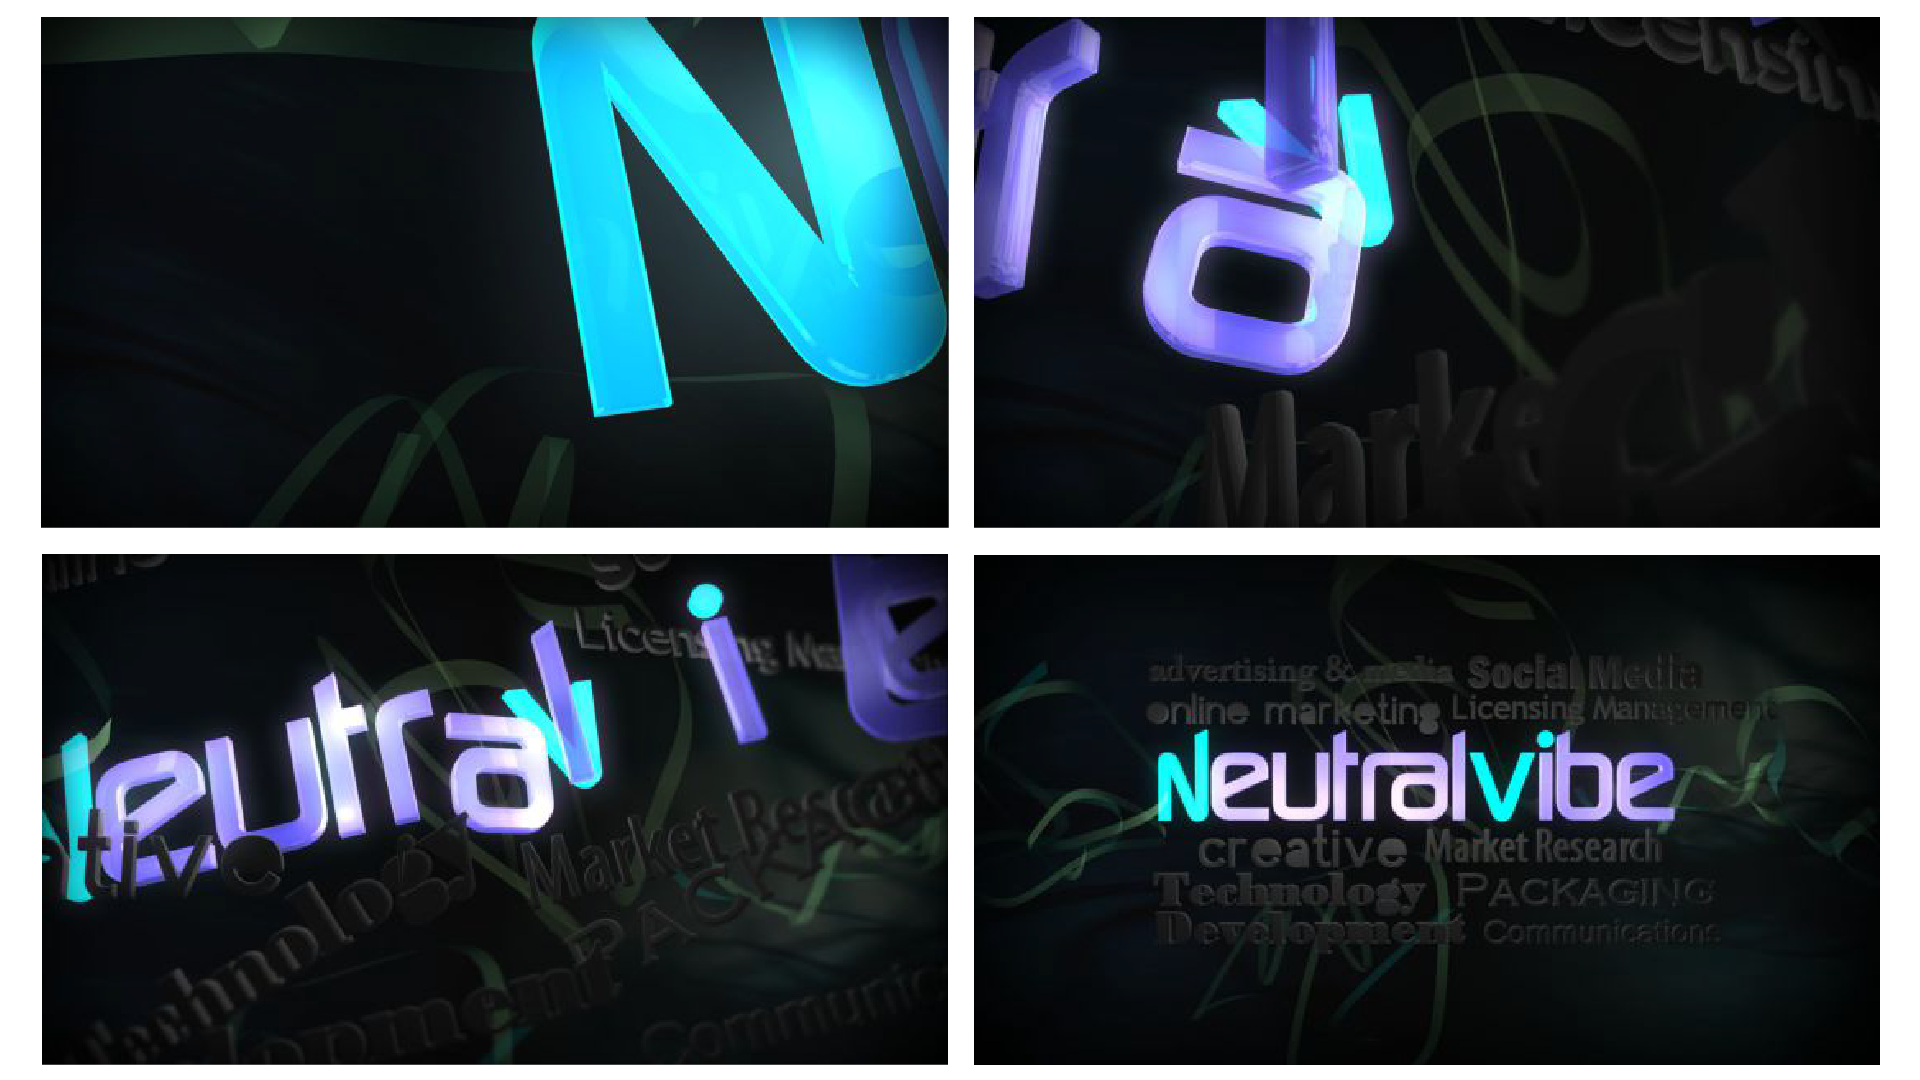
Depending on the scope of the project, styleboards may or may not be necessary. Styleboards are more detailed that moodboards, and could include colors, fonts, and textures. Style boards (also known as Style Frames) are for pitching and negotiating the aesthetic of the project with detailed visual slides to show the client.
Styleboards could be a single frame from a few key scenes.
Moodboard and Styleboards could be combined into one step. It is essentially the art direction piece of the motion graphics puzzle. Once the styleboard is approved, which is best to be kept to 4-6 frames, you can then move onto storyboarding.
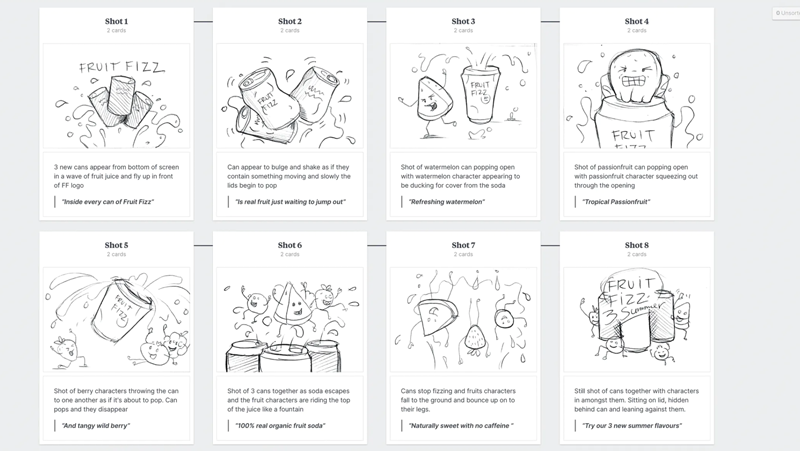
Storyboards are more functional in that they map out story structure. Whereas style boards are optional, storyboards are usually not optional for larger projects that are story based.
These 'shot by shot' sketches start out usually rough, and are used by the designer to plan out his/her project and then communicate the story to the client.
The storyboard will be generated from a script. Simple Storyboards are meant to map out movement and sequences in your story and create a coherent message. You may want to share refined storyboards with your client (vs rough sketches) for approval, but it depends on your comfort level with the client.
What are the most important frames in your piece?
What is the beginning, the middle, and end of your content? Map it out.
Keep in mind how long the spot will be, and 'chunk' out times. It's OK to estimate.
How does the typography, imagery, and other elements come into the frame and exit the frame. What do the transitions looks like from one frame to the next frame?
If illustrations are necessary, this is the time to build them! Based on the approved moodboard, and styleframes, you will have an idea of what these could look like.
 Illustrations and productions assets are prepared for animation
Animatics are used the animation industry block in rough animation and map out timing. The same structure can be applied to your digital signage creation process. This step is all about timing and knowing how much time to allocate to each message / frame. This a left-brain, logical step of the process. You can use this step to setup rough key frames, and think about the most flexible and efficient way to precompose your scenes. This is also helpful to show the client, in case they are having troubles grasping the storyboard.
If you're an animator and you love making stuff move, this is where you can bring the project to life. This is the animation stage.
Doing both Moodboards and Styleboards are optional but it's good to have at least one to determine artistic direction
Storyboards will almost always save you time (especially if you don't know your client)
Only start on production once storyboards have been approved.
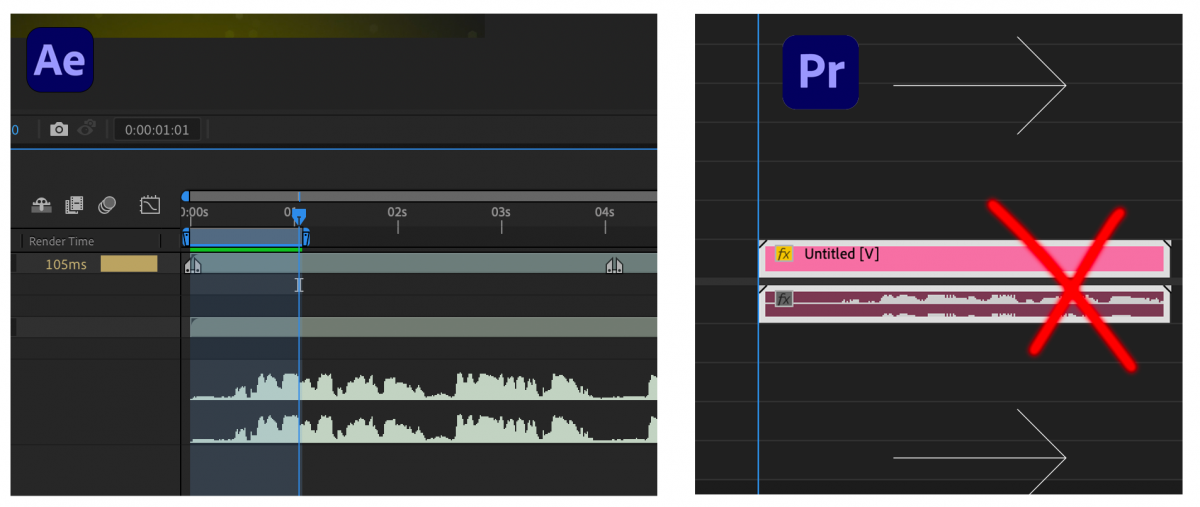
Before rendering, always clear your cache
Never, never render before RAM previewing a few times to clean up obvious flaws
When giving your client an ETA, estimate how much time it will take you to complete the project, then double that. Under promise, and over deliver.
Always proofread and check what you're sending the client before sending it (even if it's rush). I know you've seen it a million times, but it's always a good idea to watch it before sending it.
The agile methodology for project management and development is not as applicable to animation, and therefore a waterfall (linear) methodology outlined is still preferable for motion design.
So, the motion graphics content creation process can be summed up with the following steps/sequence:
Motion. Design.
Expression Driven Templates.